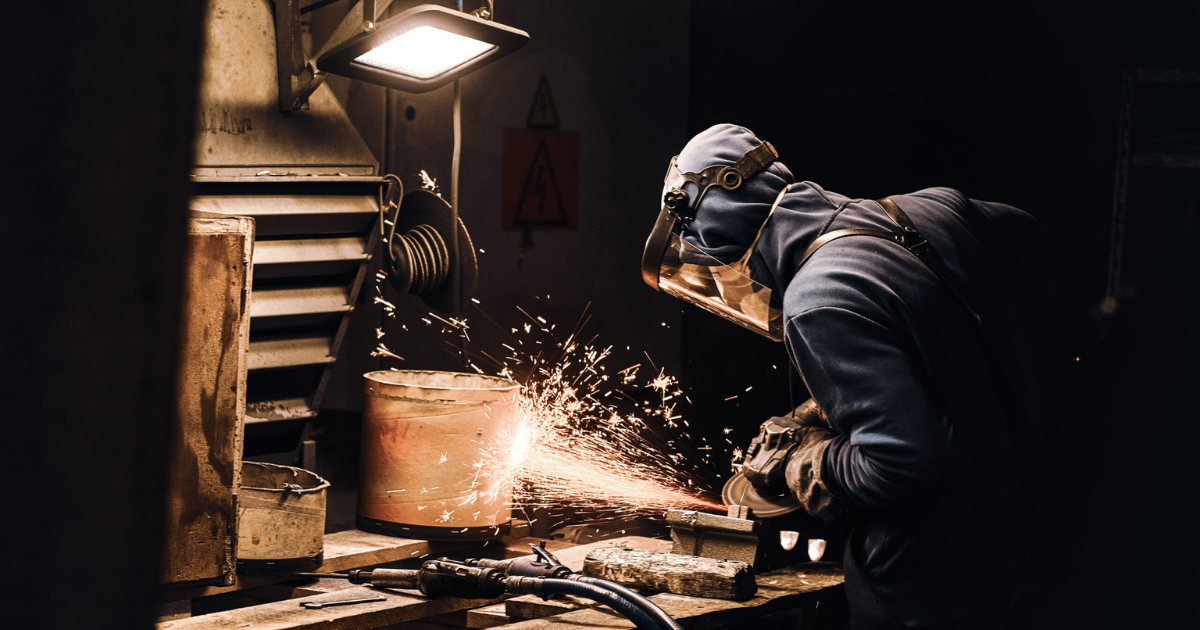
If you have a metalwork or construction business, understanding how welding works and why weld inspections are important is crucial.
Welding is a necessary component of machinery, structures, pipelines, and other materials and equipment. Therefore, inspections are needed to ensure standards are met and risks are eliminated.
Most of the time, welding inspectors perform several quality control checks and employ different methods during the welding inspection process. In this blog, we will discuss about the types of welding inspections and the different steps involved, but before that let’s explore what weld inspection is, its importance and what defines a good weld.
What Is Weld Inspection?
Weld inspection involves a series of quality assurance checks to ensure that welded joints are fit for their intended purpose. It includes evaluating weld quality, identifying defects, and ensuring compliance with industry standards. Depending on factors like joint configuration, material type, and specific project requirements, different inspection techniques are employed by certified weld inspectors in the UK.
Why Is Welding Inspection Important?
Weld inspection is essential for:
Quality Assurance
These inspections help to detect welding defects, which allow for early correction, thus, minimising rework and ensuring the quality of the welds produced.
Safety Assurance
Proper inspection reduces the risk of weld-related failures, which in turn protects both workers and property.
Regulatory Compliance
Weld inspection is essential for ensuring that the welds meet industry standards and regulations, and helps to avoid costly penalties and project delays.
Cost Efficiency
These inspections help to optimise the welding processes, reduce wastage of materials, and improve the overall productivity of a welding project.
Characteristics of a Good Weld
A high-quality weld is smooth, uniform, and consistent in appearance. The weld should properly penetrate into the parent material as it determines the cross sectional strength of the weld and its load bearing capacity.
Types of Weld Inspections
A welding inspector can analyse the weld and its features without causing damage using non-destructive testing (NDT) methods.
In the UK, there are five typical NDT inspection techniques for welding:
- Visual
- Radiographic (or X-ray)
- Ultrasonic
- Magnetic Particle
- Liquid Penetrant
Each method of inspection has its own set of benefits and drawbacks, thus, understanding them is essential for you to pick the right one.
1. Visual Inspection
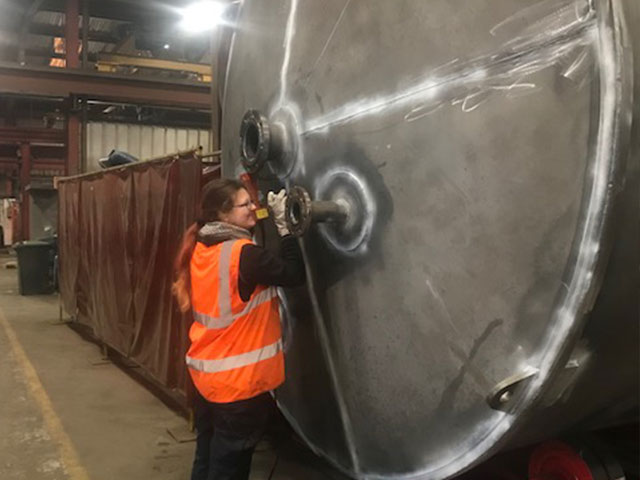
The most basic type of non destructive inspection for welds is a visual inspection or VT. Here, the welding inspector visually inspects the weld to see whether there are any surface faults. They also evaluate the weld size to rule out any potential problems.
This type of inspection is inexpensive and can be performed while work on a structure or material is being completed. Welding inspectors will frequently start with a visual assessment to verify if there are any flaws present. However, visual welding checks are limited to identifying only surface faults.
2. Radiographic Inspection
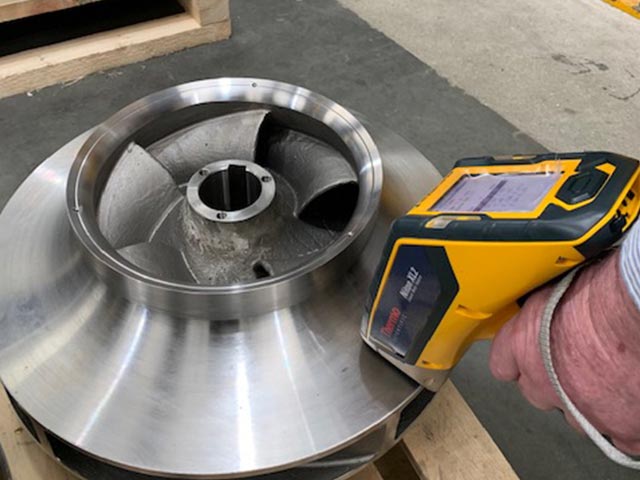
Radiographic inspection (RT), sometimes known as X-ray, is a versatile non-destructive testing technology used to assess the internal quality of a weld. It can detect internal weaknesses like cracks, non-metallic inclusions, burn-through, and other defects.
This approach is advantageous because the inspection is documented on film, which can be evaluated to provide further insight. However, there are some limitations to this method.
First and foremost, the quality of the inspection is determined by the inspector’s skills and abilities, as well as the equipment employed. Furthermore, not all welds are appropriate for this type of evaluation.
3. Magnetic Particle Inspection
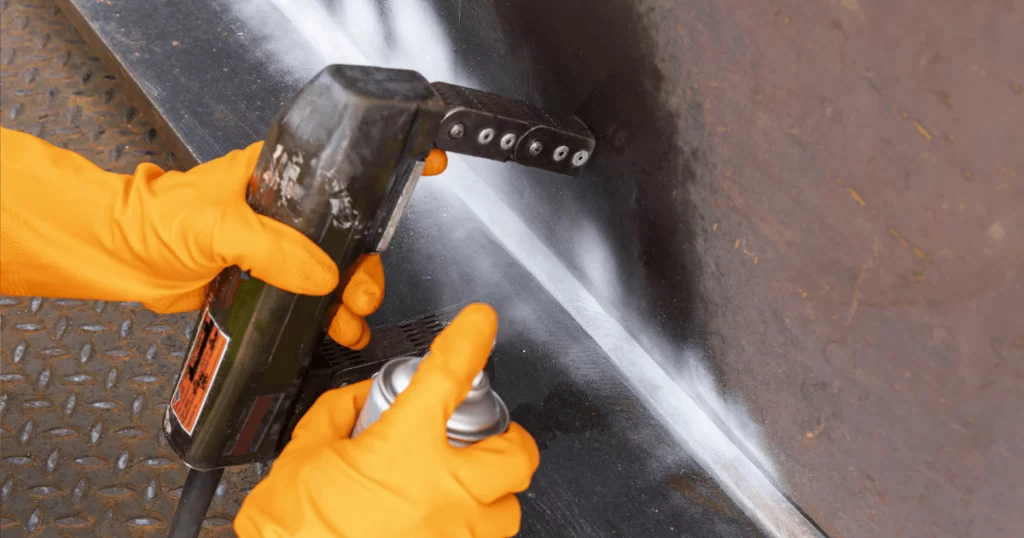
Magnetic particle testing finds surface and near-surface faults.
This NDT technique will spot any welding flaws right away. Sensitivity can also be changed, which enables different tiers of defect detection. It can detect tight cracks and discontinuities during the inspection process.
Unfortunately, ferromagnetic materials, such as iron and steel, are the only ones that can be tested using magnetic particle testing. This type of inspection won’t work on all surfaces, such as those with a thick coat of paint.
4. Liquid Penetrant Testing
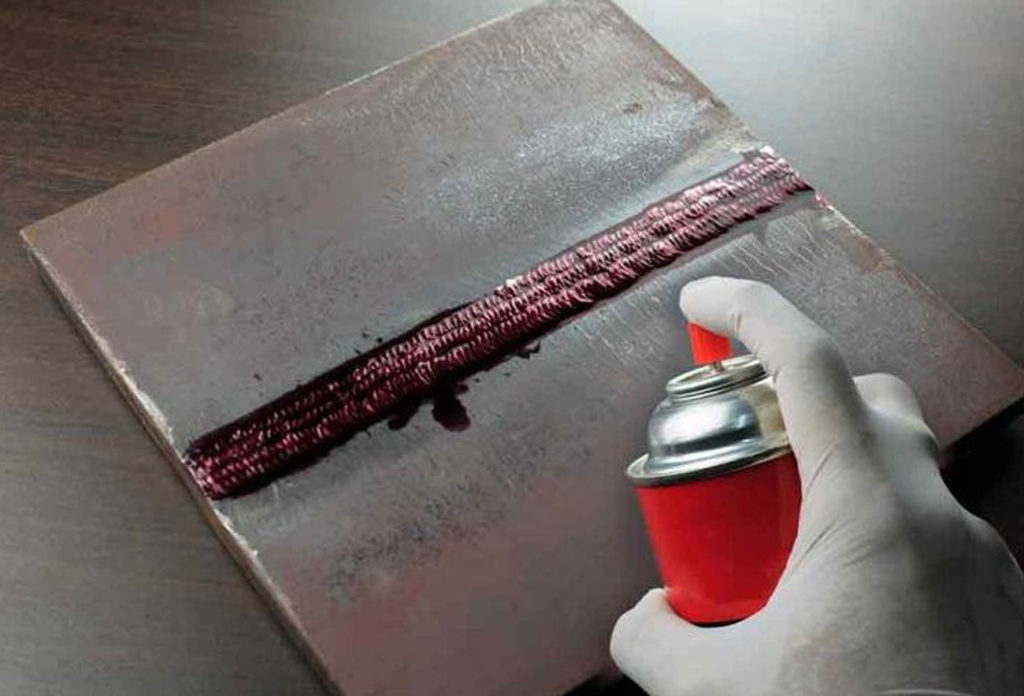
Surface cracks that cannot be seen with the human eye are found via liquid penetrant inspection or PT. This technique is frequently used to find leaks caused by welding errors.
In contrast to Magnetic Particle Inspection, PT can be used to analyse magnetic and nonmagnetic materials. This technique can assist in finding extremely minute faults. It can also find flaws in materials with intricate structures.
Liquid Penetrant Inspection has limitations though. It can only detect superficial defects. Additionally, proper pre and post-inspection cleaning is needed for this specific inspection.
5. Ultrasonic Welding Inspection
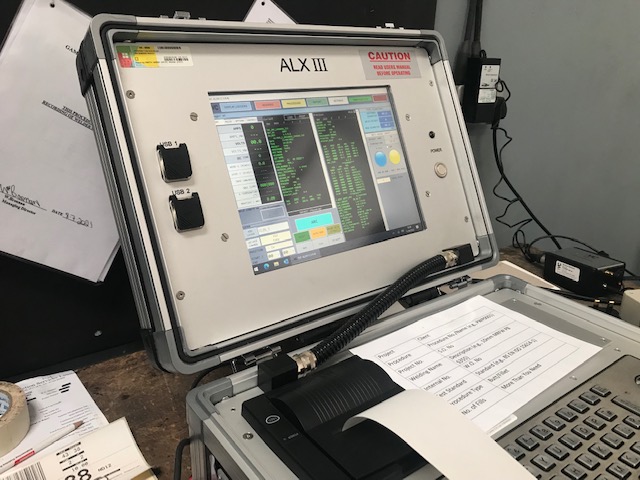
Both internal and external faults can be found with ultrasonic testing, often known as UT weld inspection. UT can also pinpoint a discontinuity’s exact location and measurement.
Due to its high sensitivity, this technology enables inspectors to pick up on minute flaws that other NDT techniques may miss.
Phased array technology enables even more intricate and precise inspections. Through the use of phased array ultrasonic testing (PAUT), welding inspectors can assess a component from several perspectives. This means that complex geometric components can be swiftly and precisely inspected.
Steps Involved
Any weld inspection typically consists of these four steps, each designed to identify potential defects and verify compliance with industry standards:
1. Visual Weld Inspection
The first step involves a thorough visual examination of the weld. This inspection is crucial for identifying obvious defects such as:
- Cracks that could compromise the weld’s integrity
- Porosity (small holes or voids) within the weld which can weaken its structure
- Signs of incomplete fusion between the weld and base materials
- Presence of surface conditions including excessive slag, corrosion, or leaks
During this stage, inspectors use proper lighting and may employ magnifying tools to closely examine the weld. They also assess the weld’s shape and dimensions using gauges to ensure compliance with specified standards.
2. Determine the Best Non-Destructive Testing (NDT) Solution
Following the visual inspection, welding inspectors select an appropriate non-destructive testing method depending on the material used to further evaluate the weld’s integrity. Common NDT techniques include:
Magnetic Particle Inspection: Effective for detecting surface and near-surface defects in ferromagnetic materials.
Radiographic Testing: Uses X-rays or gamma rays to reveal internal flaws in metals, composites and concrete.
Dye Penetrant Testing: Identifies surface cracks by applying a dye that seeps into defects. It is used to detect faults in non-porous materials such as metals, ceramics and plastics.
Eddy Current Testing: Useful for detecting flaws for conductive surfaces without requiring extensive preparation.
Phased Array Ultrasonic Testing (PAUT): Detects flaws at various depths with minimal surface preparation required. It is used for a wide range of materials like – metals, composites and some types of plastic.
3. Evaluation of Results
Once the appropriate inspection method has been selected and applied, the inspector will compare the results against established acceptance criteria. Any imperfections exceeding acceptable limits are documented, with recommendations for repairs or adjustments.
4. Analyse Results
The last step of the inspection involves a thorough evaluation of the results from the testing process. The welding inspector will carefully go through the reports and images, and point out any flaws or anomalies found to the welders so they can conduct the repair work to address them.
Once these defects are dealt with, the welding inspector will again use the same NDT method to verify the integrity of the weld and ensure that there are no more flaws.
This careful approach ensures that each weld in a welding project meets the industry standard and eliminates any potential risk to the structure.
Conclusion
Defects and flaws in welds can lead to subpar performance and safety concerns. Hiring a certified weld inspector is a smart move for construction businesses in the UK as they can help to identify potential faults and ensure the integrity of the structure. These inspections also help businesses in the UK save a lot of money by reducing the cost associated with accidents or asset loss and also safeguard workers, the general public and the environment.
Gammax Independent Inspection Services LTD: One Solution for All Your NDT Welding Inspection Needs
Here at Gammax Independent Inspection Services, we provide a range of NDT inspection services to keep you in line with UK welding standards. Our welding inspectors are qualified as per BS EN ISO 9712 and use advanced equipment to verify the integrity of your welds. With years of experience in welding across diverse industries in the UK, we provide reliable services that prioritise safety, efficiency, and compliance.
Contact us today for weld inspection certification.

Gammax Team
Here at Gammax Independed Inspection Services, our editorial team consists of BS EN ISO 9712 certified welding experts and consultants. We are committed to offer you latest industry news and up to date information regarding various non destructive inspection procedures.
