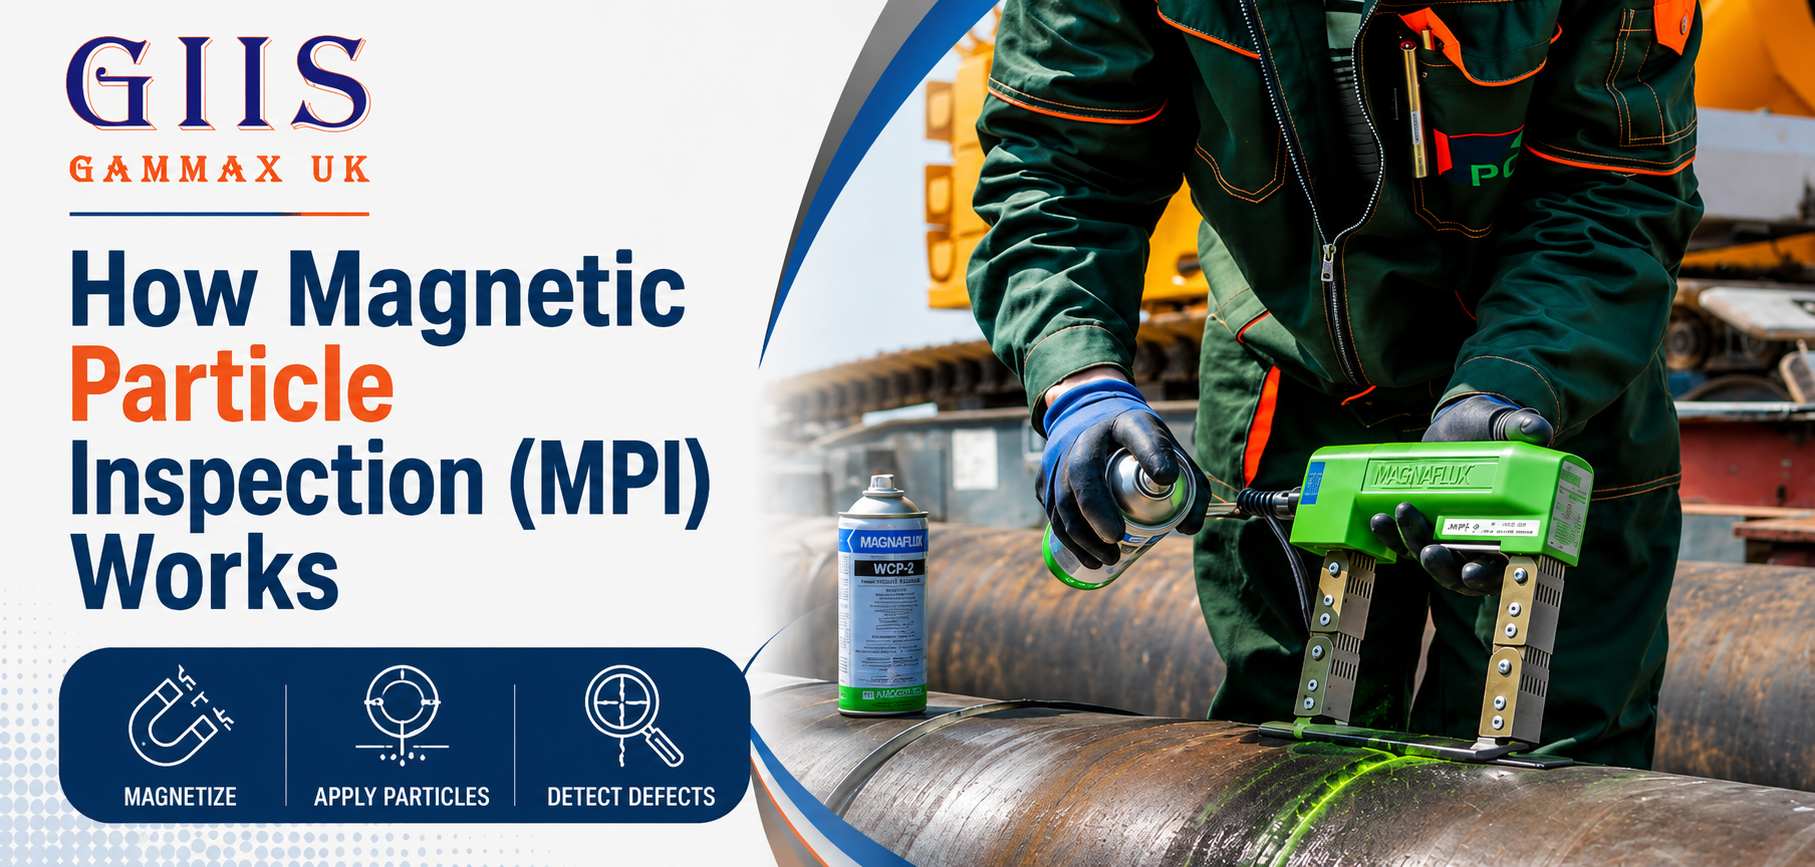
Magnetic Particle Inspection (MPI)– also known as Magnetic Particle Testing is a non-destructive testing method. It’s used to test the integrity of welds and metal parts. Its primary task is to check welded materials for cracks or other flaws without causing any damage to the surface of the metal.
MPI is primarily used in the automotive, aerospace, construction, oil and gas rigging, and metal-manufacturing industries because it’s very affordable and highly sensitive to surface cracks. It works by magnetising the component and coating its surface with fine iron oxide powder, so the particles collect at any flaws and reveal them.
Principles Of Magnetic Particle Inspection (MPI)
Magnetic Particle Inspection (MPI) works on a simple principle: a crack on the surface of the metal disturbs its magnetic field. This disturbance is visible, and it indicates that the welded material has flaws.
This disturbance in the magnetic field is called flux leakage. When the flux leaks, it attracts and holds the metal particles applied to the surface, creating a visible particle accumulation that reveals the crack.
To get the most out of the MPI, the test material is placed vertically against the metal’s surface. That’s because the flux leakage maximises when the crack is placed perpendicular during the test. On the other hand, when it is placed parallel, there’s a high possibility that the crack may be missed. That’s because the parallel positioning of test sample stops the flux from leaking.
How Does Magnetic Particle Inspection (MPI) Work?
By now you’ve already learnt what the MPI does. Now let’s take a brief look at how this inspection works. MPI includes the following steps:
Step 1: Creating a Magnetic Field
The inspection starts with creating a magnetic field inside the metal part. In other words, a magnetic current is run through the entire piece of the welded material, creating temporary magnetism.
Step 2: Testing the Magnetic Flow
The flow of the magnetic current through the test sample is studied. If the metal is free from cracks, the magnetic lines will flow smoothly. While testing a flawless piece of equipment, the lines travel through the material in a straight and continuous path, without any disturbance.
Step 3: Looking for Flux Leakage
If the welded piece of metal is cracked, the magnetic lines don’t flow smoothly. Instead of flowing in a straight line, the field lines get interrupted due to flux leakage. This leakage is seen as an outward bulge. It becomes more visible above the surface right where the flaw is.
Step 4: Inspecting the Iron Particles
The flux leakage can’t be seen with the naked eye. That’s why loose iron particles are used. Loose iron particles are sprinkled over the surface of the material, and they get drawn towards the leaking flux. This happens because of the magnetic nature of the leaking flux.
After the loose iron particles form a cluster and get pulled towards the leak, they take the shape of the crack. This acts as an outline of the crack. They visually outline the crack – even ones too small or fine to see with the naked eye.
Example of How MPI Works
The process mentioned above is the theoretical process of the inspection. A good example would be imagining a steel pipe with a hidden crack running just under its surface. Here’s how the test proceeds:
1. Charging the Pipe
First, an inspector prepares the steel pipe for testing and runs a strong electric current through it, turning the pipe into a temporary magnet.
2. Checking for Field Disruption
In the case of an uncracked steel pipe, the magnetic lines will run smoothly without any disturbance. On the other hand, if the pipe is cracked, the field lines won’t be able to pass through the gap in the metal. As a result, the lines are forced to bulge up over the crack.
3. Using Iron Particles
Neither the crack nor the escaping flux can be seen with the naked eye. That’s why the inspector uses loose iron particles or iron dust. When electric current passes through the material, the iron particles start to accumulate on top of the crack because of the leaking magnetic field. It acts as an outline and tells the inspector where the crack is.
That visible line of iron powder is the whole point of an MPI. It turns an invisible, internal problem into something you can literally see and photograph, without cutting or damaging the pipe at all.
Different Methods of MPI
Though the process remains almost the same, there are three primary methods of magnetic particle inspection. They are the following:
1. Dry Particle Method
For rough surfaces, high-temperature inspections, and field applications, the dry particle method is preferred all over the world. In this method, dry, magnetic material is sprinkled to identify cracks on the surface.
2. Wet Fluorescent Method
The wet fluorescent method is the standard method of crack testing as per ASTM E1444 for aerospace, automotive, and critical component inspection because this method provides the highest sensitivity. In this method, fluorescent particles are suspended in a liquid carrier and applied to the part and examined under ultraviolet (black) light.
3. Wet Visible Contrast
Wet Visible MPI is also known as the “black and white” method, where a thin layer of white contrast paint is applied to the surface of material, followed by a liquid suspension of black magnetic particles. When the test sample is magnetised, the presence of any surface and near-surface defects creates magnetic leakage. This leaking flux pulls the black particles, creating clear and high-contrast indications that are visible under normal white light. This method is used for structural steel and pressure vessel welds and detects fine toe cracks, undercuts and lack of fusion.
Advantages of Magnetic Particle Inspection
Magnetic Particle Inspection is fast, affordable, and widely trusted across industries like automotive, aerospace, and manufacturing. MPI helps ensure component safety and reliability. Let’s take a closer look at its key benefits:
1. Quick and Easy Detection
Magnetic particle inspection is extremely precise and effective in identifying cracks on the surface as well as near the surface. This makes it highly effective in checking the integrity of welded metals.
2. Versatility of Use
MPI can be used to check cracks on many kinds of ferromagnetic materials, like:
- Iron
- Steel (including most carbon and low-alloy steels)
- Nickel
- Cobalt
- Other alloys
It also works on numerous shapes.
3. Provides Immediate Results
Magnetic particle inspection gives real time results. This allows you to work smoothly with customers, take prompt decisions, and take quick action, all while not compromising the acceptability of welds.
4. Affordable
MPI is relatively more pocket-friendly than other testing methods. More importantly, it saves time and makes the test highly cost-effective. Compared to other NDT methods, MPI is widely accessible.
Limitations of Magnetic Particle Inspection
There are only two primary limitations of this test. Firstly, it’s only applicable to ferromagnetic materials such as iron, nickel, and cobalt and their alloys. Non-ferromagnetic materials like aluminium or copper cannot be inspected using this method.
Secondly, the size and depth of defects that can be detected are limited by the magnetic field strength and the size of the magnetic particles used.
Magnetic Particle Inspection Process
The steps involved in the magnetic particle inspection process are also worth mentioning. Let’s take a closer look at each step involved in actually carrying out the test:
Step 1: Cleaning
Before the inspection begins, the test area is cleaned using a solvent cleaner and lint-free wipes.
Step 2: Applying Paint
Then white paint is applied for contrast to the test area.
Step 3: Magnetising
The third step is creating a magnetic field within the test piece. In this step, the material is magnetised to its maximum capacity. Most technicians use a coil or permanent magnet to magnetise the piece of metal.
Step 4: Applying Iron Powder or Particles
After the piece is magnetised, iron particles are applied to it. Since the test area is painted white, only black coloured iron particles are applied to the testing surface. The iron particles automatically moves towards the cracks.
Step 5: Inspection
Technicians can clearly understand where the crack or the defect is by looking at the accumulation of the iron particles. They check and note down the dimensions and location of the cracks.
Step 6: Demagnetisation
After the test is complete, the piece of equipment under inspection and the test area are demagnetised. To demagnetise the machine, technicians pass the test piece through a demagnetising coil or apply an alternating current.
To Conclude
Magnetic Particle Inspection (MPI) remains one of the fastest, most reliable ways to catch surface and near-surface cracks in ferromagnetic components without cutting, damaging, or taking the component out of service for long.
From magnetising the part to reading the line of iron particles for detection of flaws, each step exists for a reason: to make sure a hidden flaw doesn’t stay hidden. Whether it’s a weld, a casting, or a component already in service, MPI gives fabricators, engineers, and inspectors a fast, affordable way to confirm integrity before it becomes a costly or dangerous problem.
Get in Touch with Our Certified MPI Specialists
If you’re looking for certified experts to carry out MPI safely and accurately, Gammax Independent Inspection Services Ltd is your best option. Our technicians are BS EN ISO 9712 certified, so you can trust every result. Get in touch with our team today to discuss your MPI requirements.
FAQs
- Why would I choose magnetic particle inspection?
A: Magnetic particle inspection (MPI) is a simple, cost-effective and reliable method of non-destructive testing that can be used on numerous ferromagnetic materials like iron, nickel, and cobalt.
- Can MPI detect defects deep inside a material?
A: No. MPI is only effective for surface and near-surface flaws. The depth and size of defects it can detect are limited by the strength of the magnetic field and the size of the particles used, so it isn’t suited to finding defects deep within a component.
- What’s the difference between the dry particle method and the wet fluorescent method?
A: The dry particle method uses dry magnetised powder and is typically used for rough surfaces, high-temperature inspections, and field applications. The wet fluorescent method suspends fluorescent particles in a liquid carrier and is examined under UV light – this method offers higher sensitivity and is the standard for aerospace, automotive, and critical component inspection.
- Why does the test piece need to be demagnetised after inspection?
A: Once magnetised for testing, a component can retain residual magnetism if it isn’t properly demagnetised. This leftover magnetism could interfere with the material’s future performance or affect the accuracy of future inspections, so demagnetising is an essential final step.
- How long does a typical Magnetic Particle Inspection take?
A: MPI is known for delivering results in real time, since indications become visible as soon as the iron particles are applied to the magnetised surface. This makes it one of the quicker NDT methods available, allowing inspectors and clients to make prompt decisions without lengthy waiting periods for results.